PREPARATION BEFORE USE
Before use, ensure that the appliance is safe and in good working order. Do not use it if it is damaged in any way. Using a damaged appliance may result in injury, poor performance, or serious danger.
I. LOADING THE PRODUCT
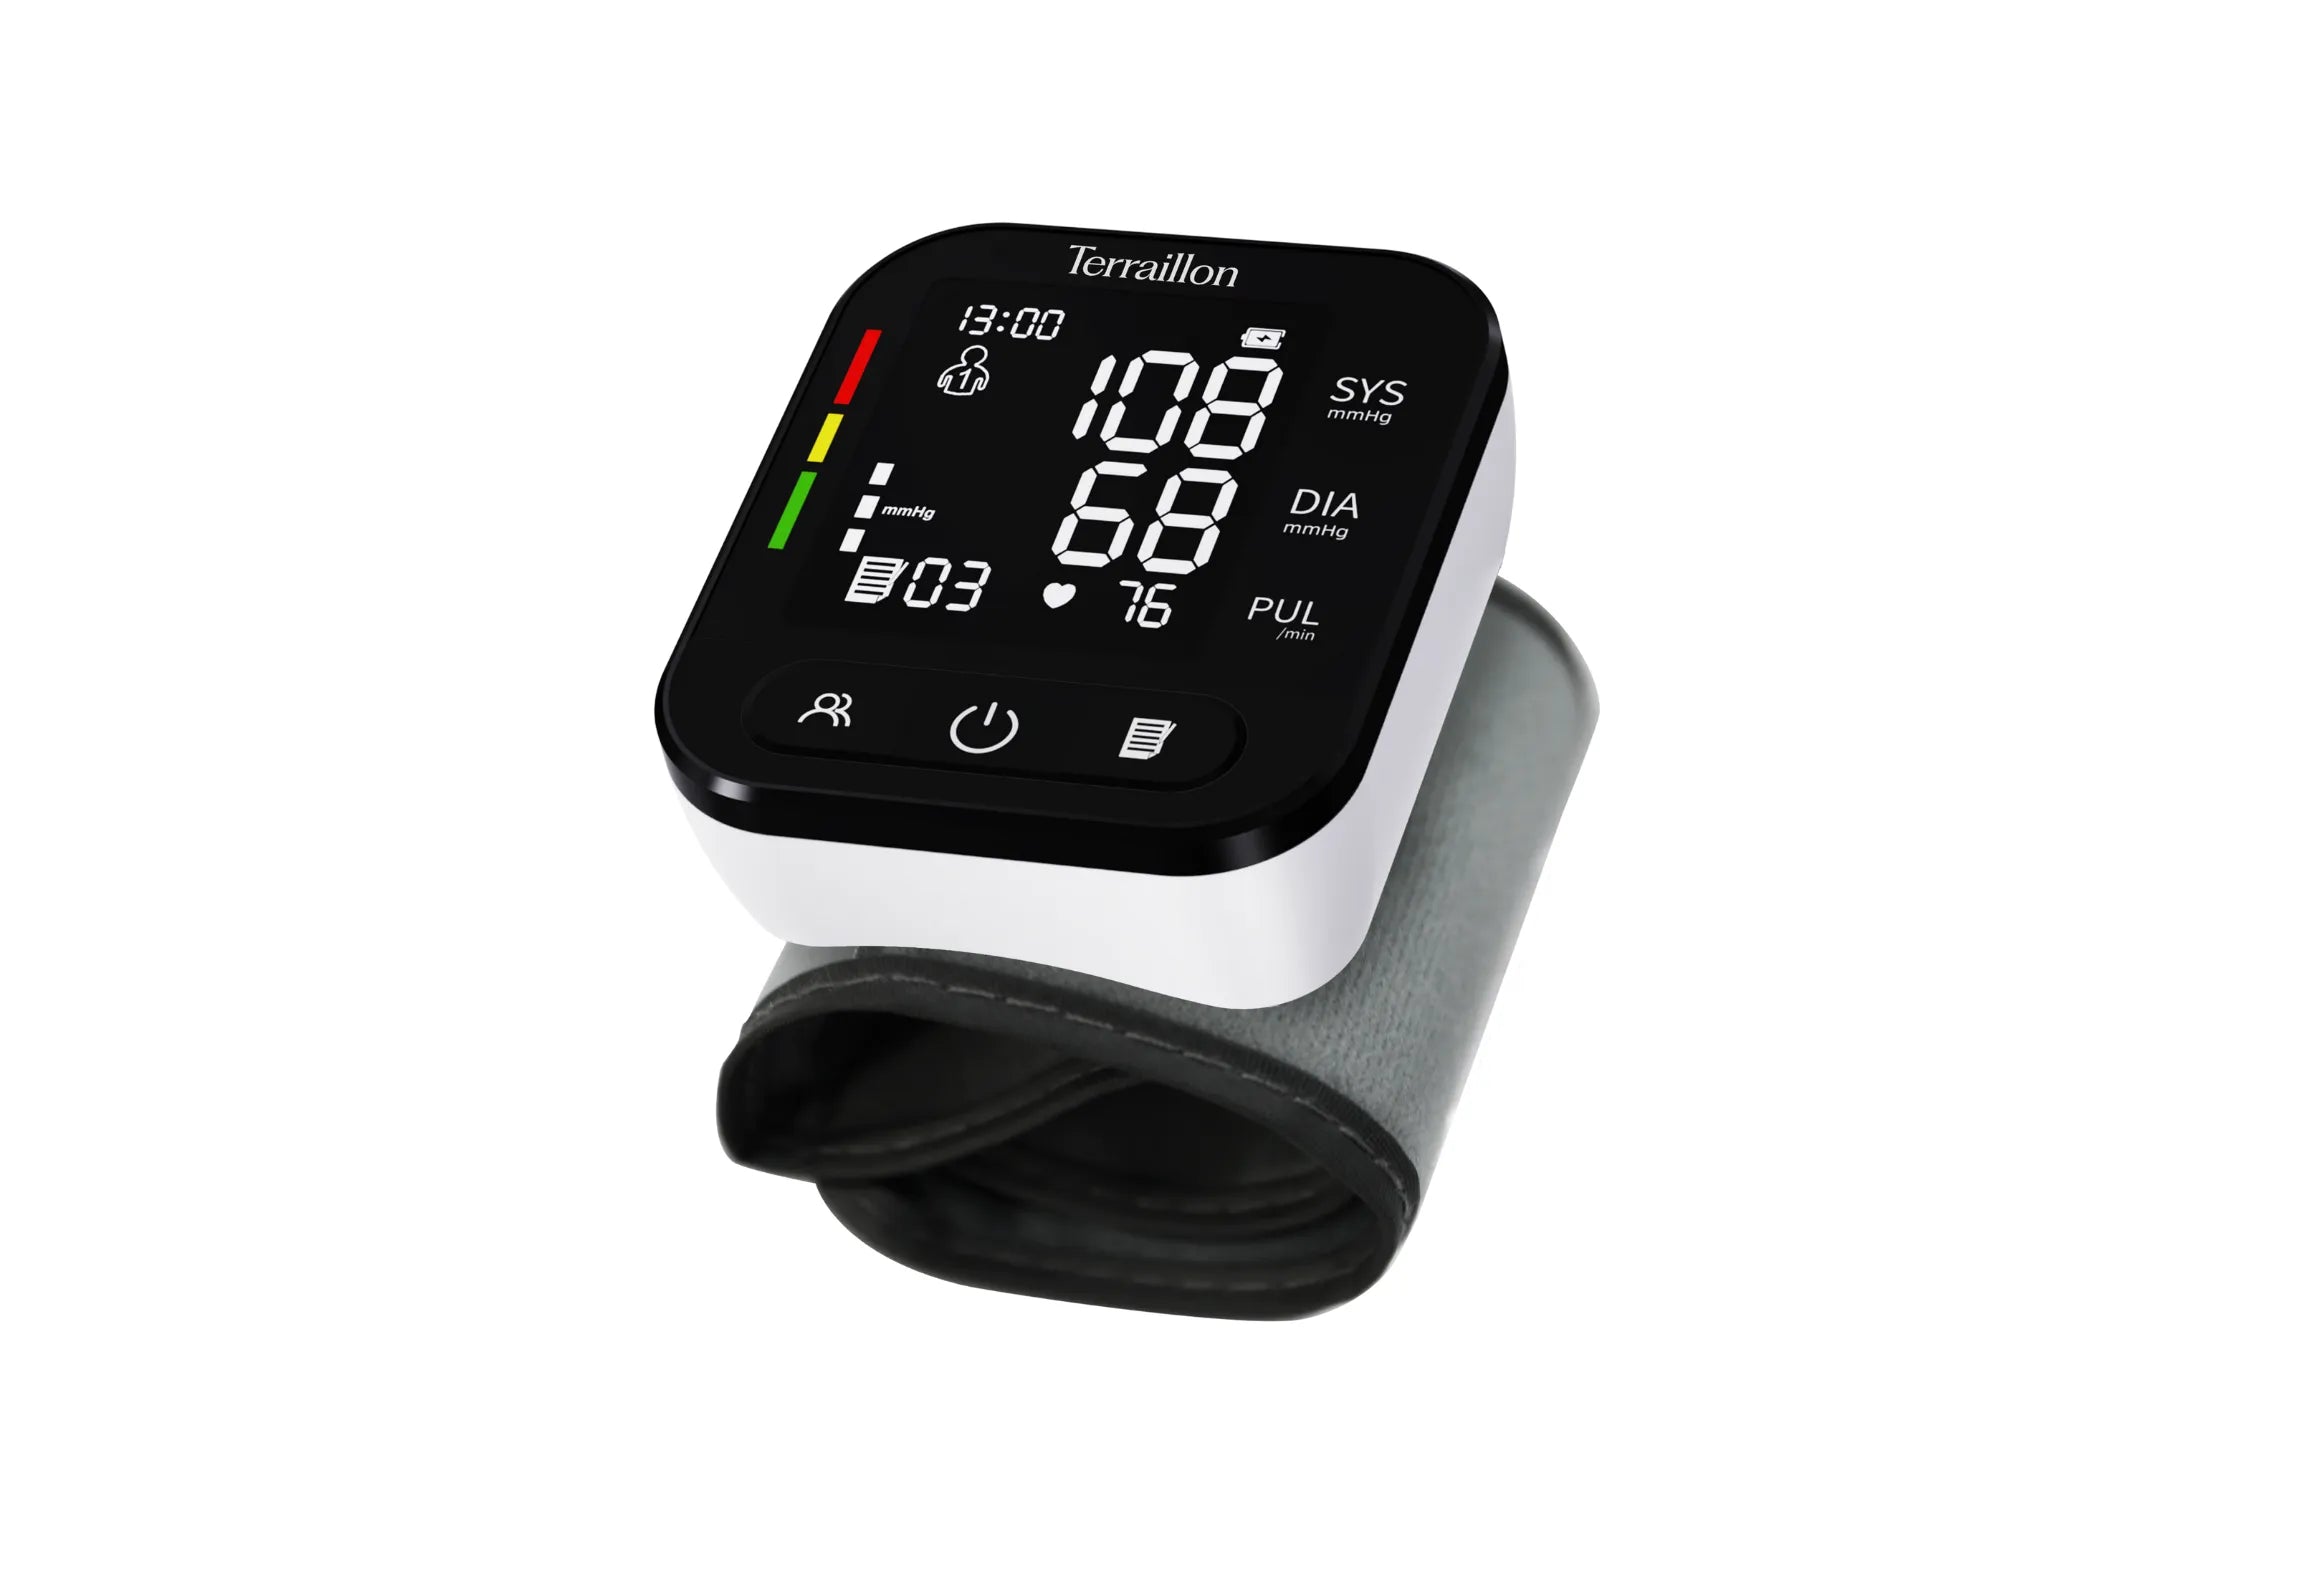
The TP251 wrist blood pressure monitor has a built-in rechargeable battery.
It should be recharged before first use or as soon as the battery symbol flashes.
1. Use the USB-C cable supplied with this device.
2. Plug the USB-C plug into the USB-C charging port.
3. Connect the USB plug to a power adapter.
4. When the device is charged, the battery symbol stops flashing.
The charging time is approximately 2 hours.
The battery life is a maximum of 95 uses.
II. USER SELECTION
This blood pressure monitor offers two user profiles with a memory capacity of 99 recordings each.
When the device is off, press the button corresponding to the chosen user: user 1, user 2.
III. SETTING THE DATE AND TIME
Before taking your first measurement, set the current date and time on the wrist blood pressure monitor. (The date and time cannot be changed during a measurement.)
This information will be taken into account for recording data in memory.
1. With the device turned off, press the 'user select' button until the year flashes to enter the setting mode.
2. Press 'measurement history' to adjust the year, then press 'user selection' again to validate and move on to the month setting.
3. Tap 'Measurement History' to set the month. Then do the same to set the day/hour/minute.
4. Press 'user selection' one last time to confirm the settings.
IV. UNIT DISPLAY SETTING
There are two units for displaying blood pressure: mmHg and kPa. The default unit is mmHg.
When the device is off, press the 'on/off' button for about 5 seconds to access the unit selection. Press the 'measurement history' button to switch between mmHg and KPa, then press the 'user selection' button to confirm the selection.
TAKING MEASUREMENT
I. POSITION THE CUFF
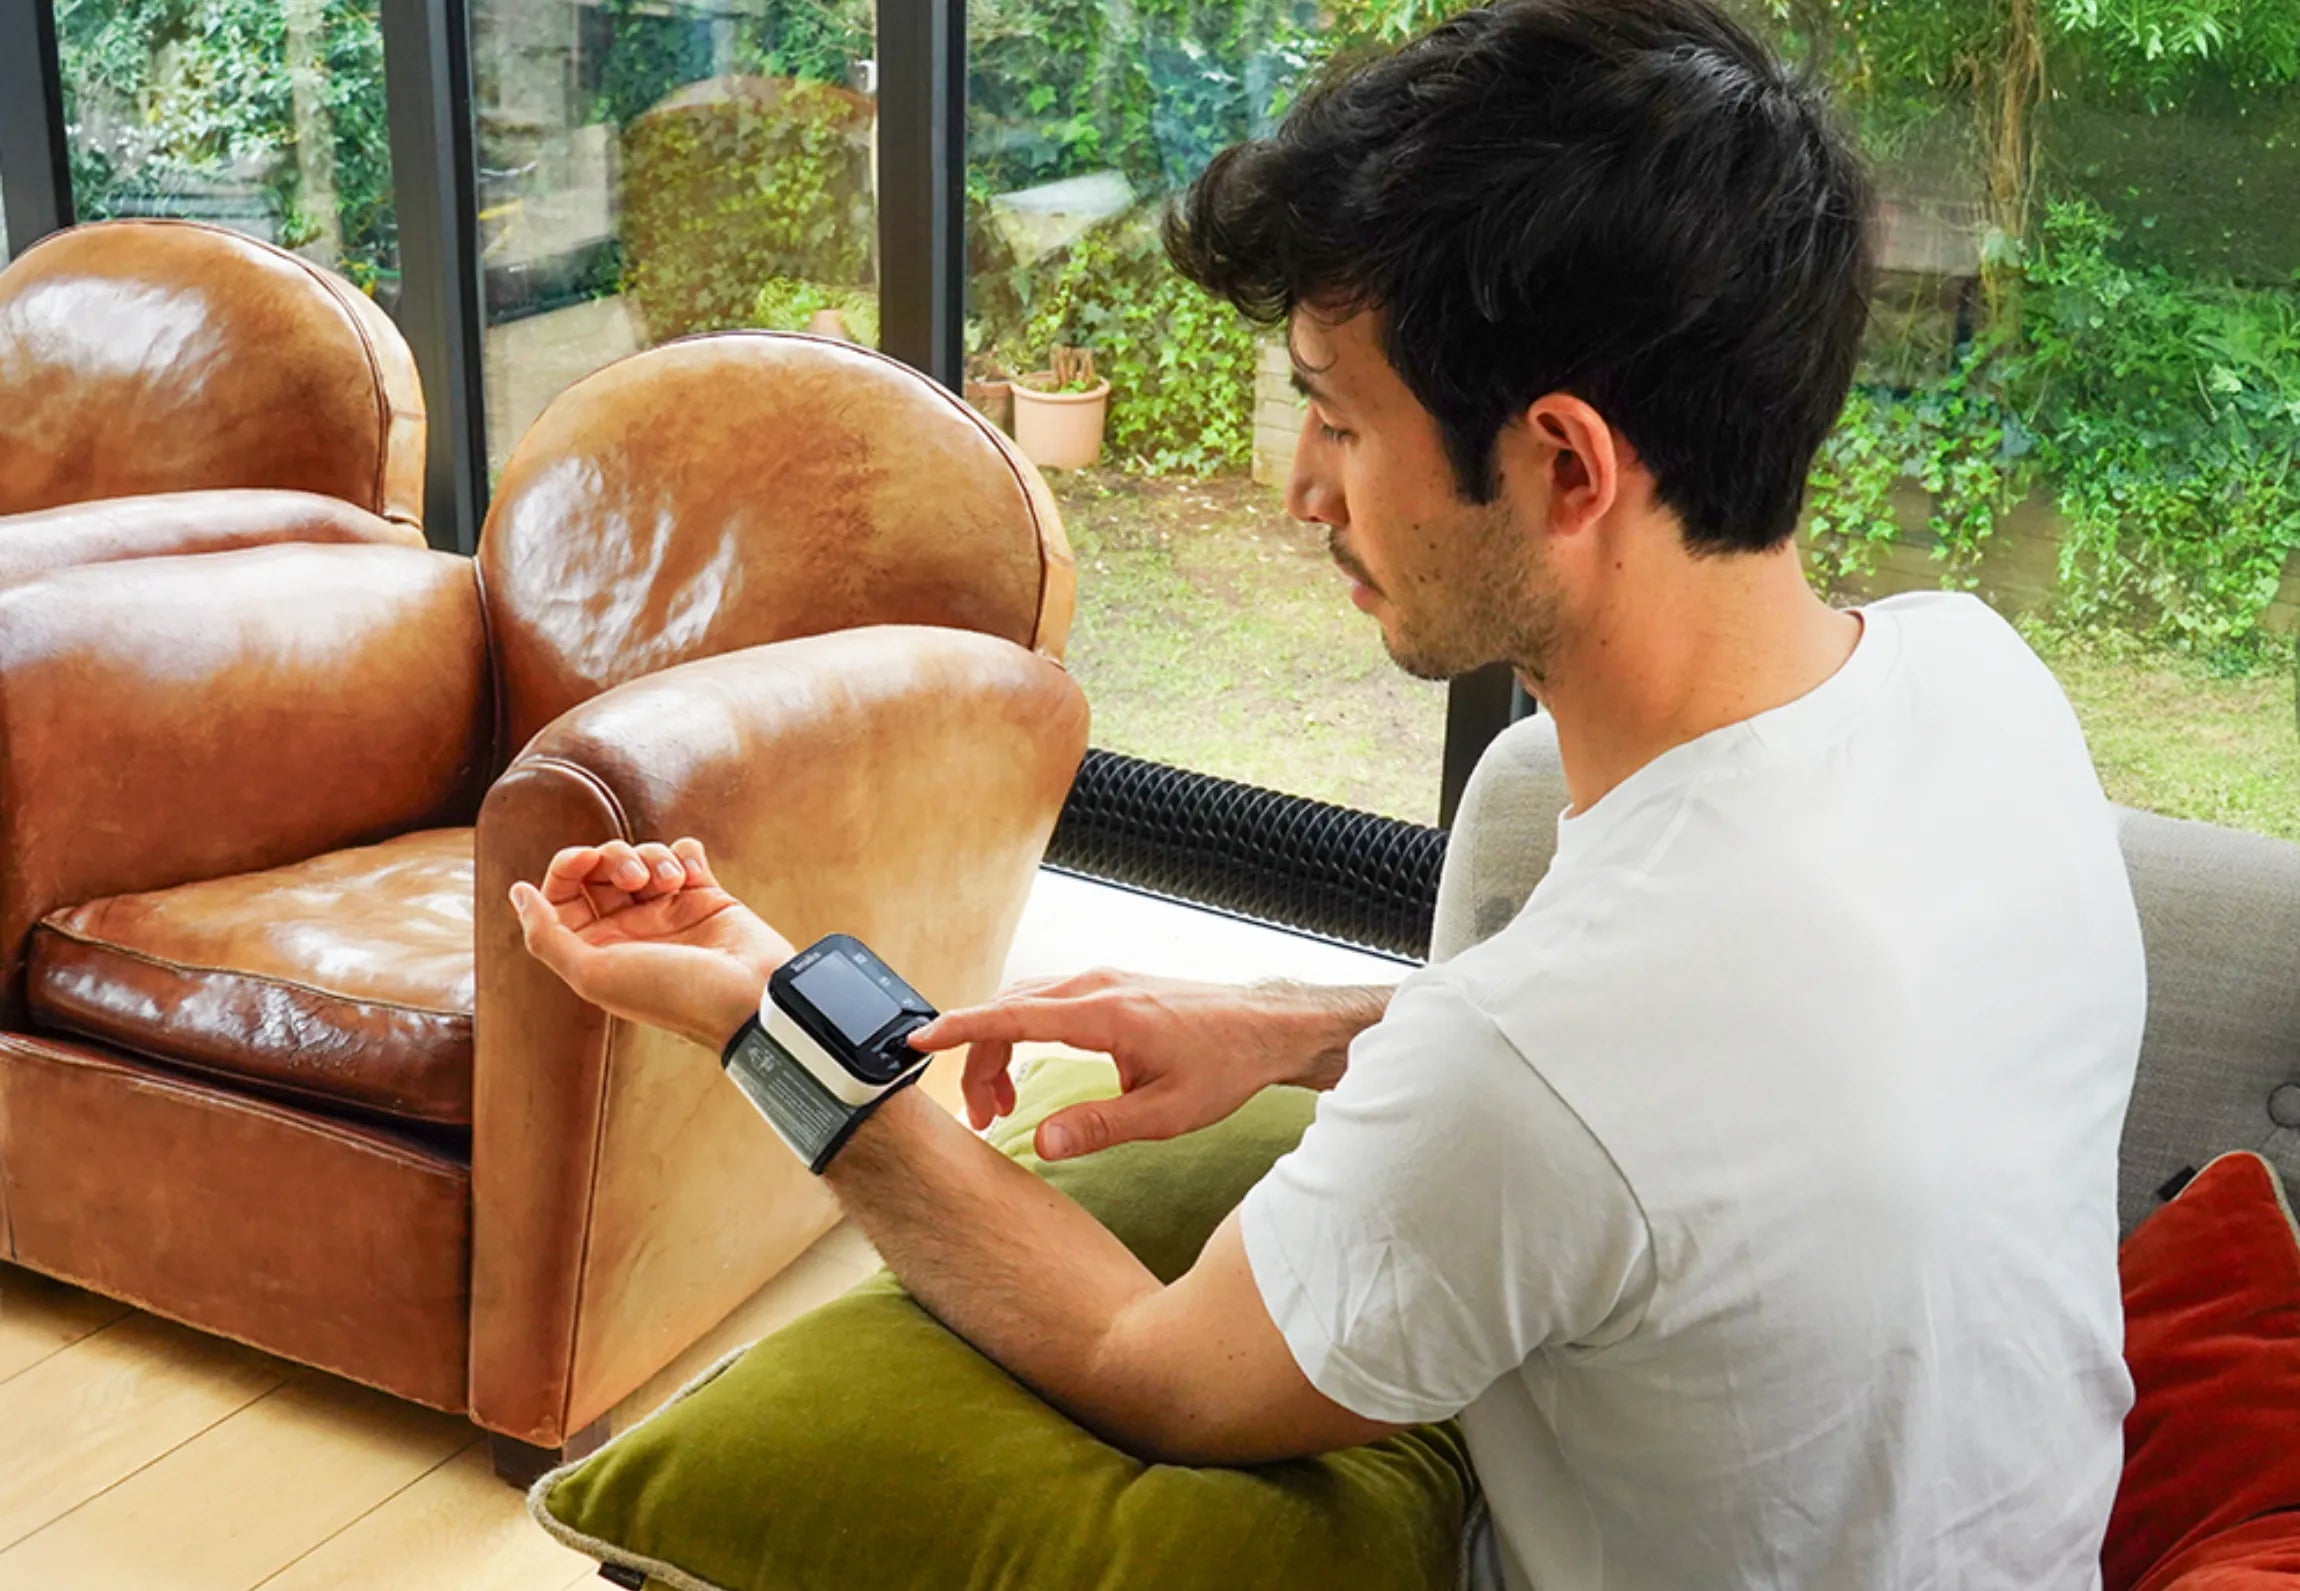
The armband is placed on the left wrist.
However, if your doctor has diagnosed you with poor circulation in this arm, or if you are in one of the situations explained in the "Warnings" section on page 13, you can use your right wrist.
1. Remove all jewelry, such as watches and bracelets. Roll up or roll up your sleeve to expose the skin. Make sure your sleeve is not too tight on your arm.
2. Place the cuff 10 or 15 mm from the bottom of the palm of the hand.
3. Secure the cuff firmly using the Velcro strap.
II. SET UP CORRECTLY
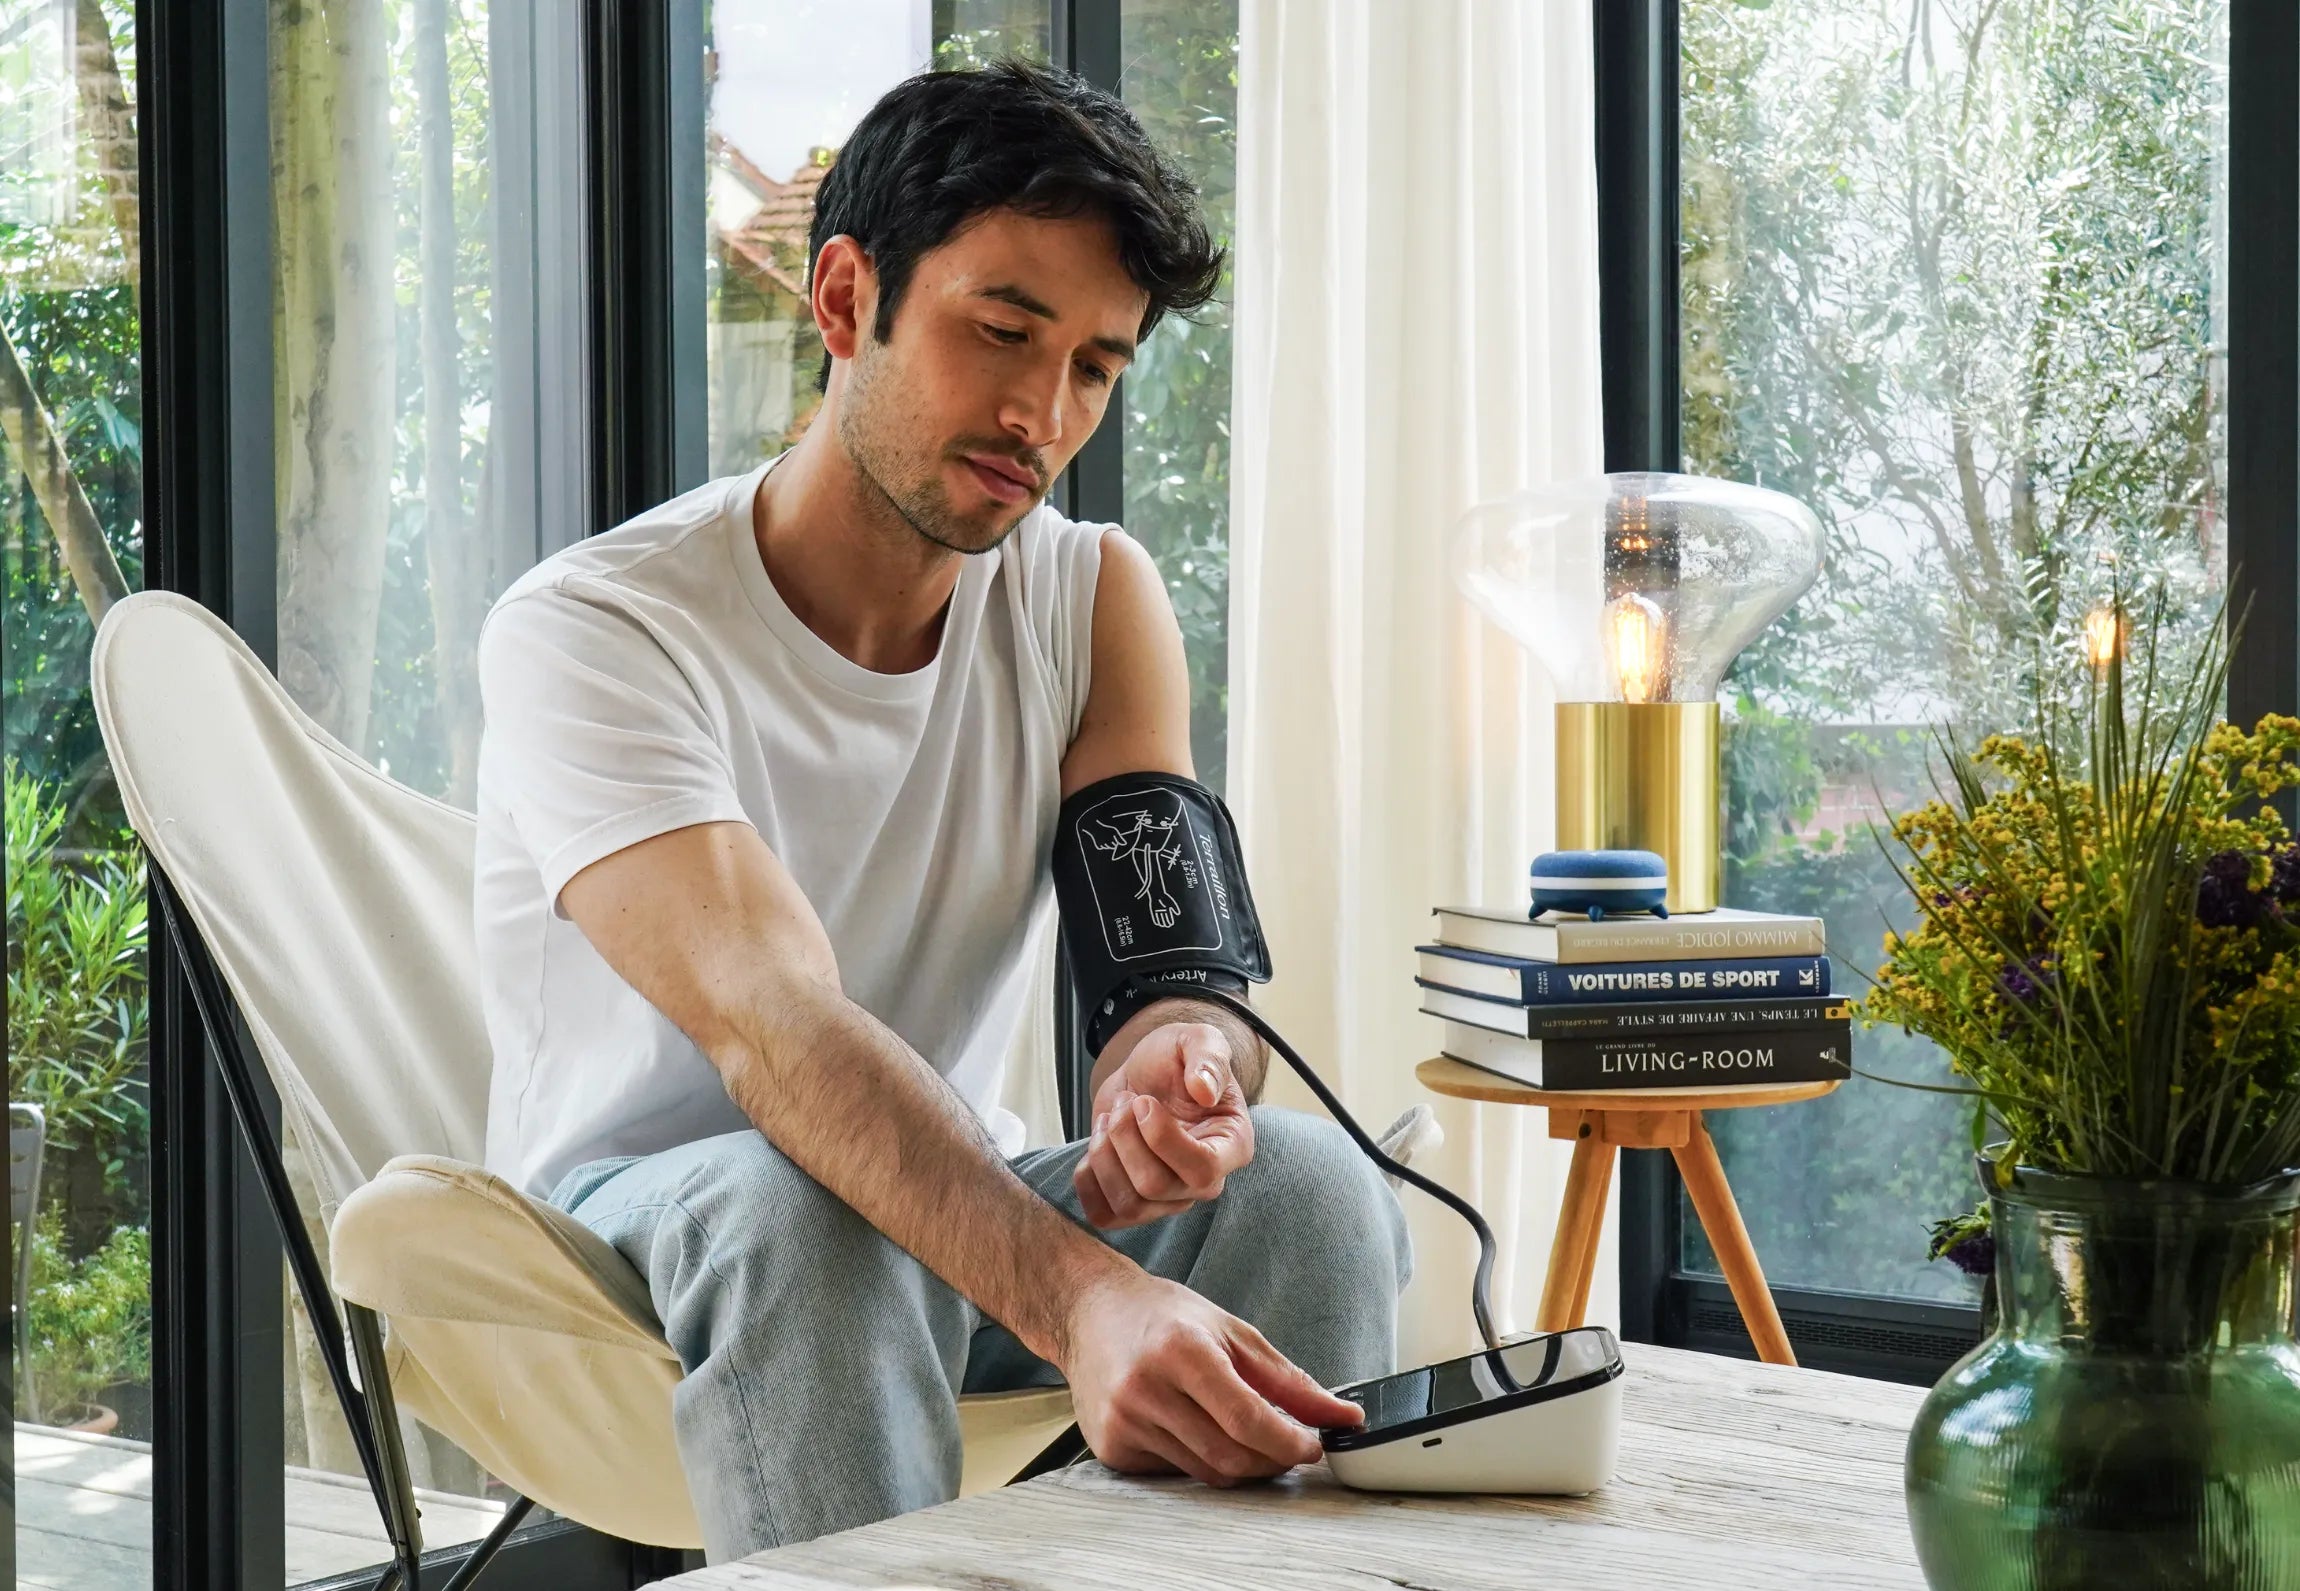
To take a measurement, you should be relaxed and comfortably seated in a room at a comfortable temperature.
• Sit upright in a comfortable chair with your back resting on the backrest.
• Do not cross your legs and keep your feet flat on the floor.
• Raise your arm to bring the cuff to the level of your heart.
• Relax as much as possible.
III. TAKING THE VOLTAGE
1. Press the 'on/off' button to turn on the device and take the blood pressure.
2. The blood pressure monitor begins to inflate for measurement and displays either “00” or the
last recorded measurement.
3. Inflation and measurement
The value displayed on the screen increases, before slowly decreasing.
The heart rate symbol then flashes.
4. Displaying results and storing them
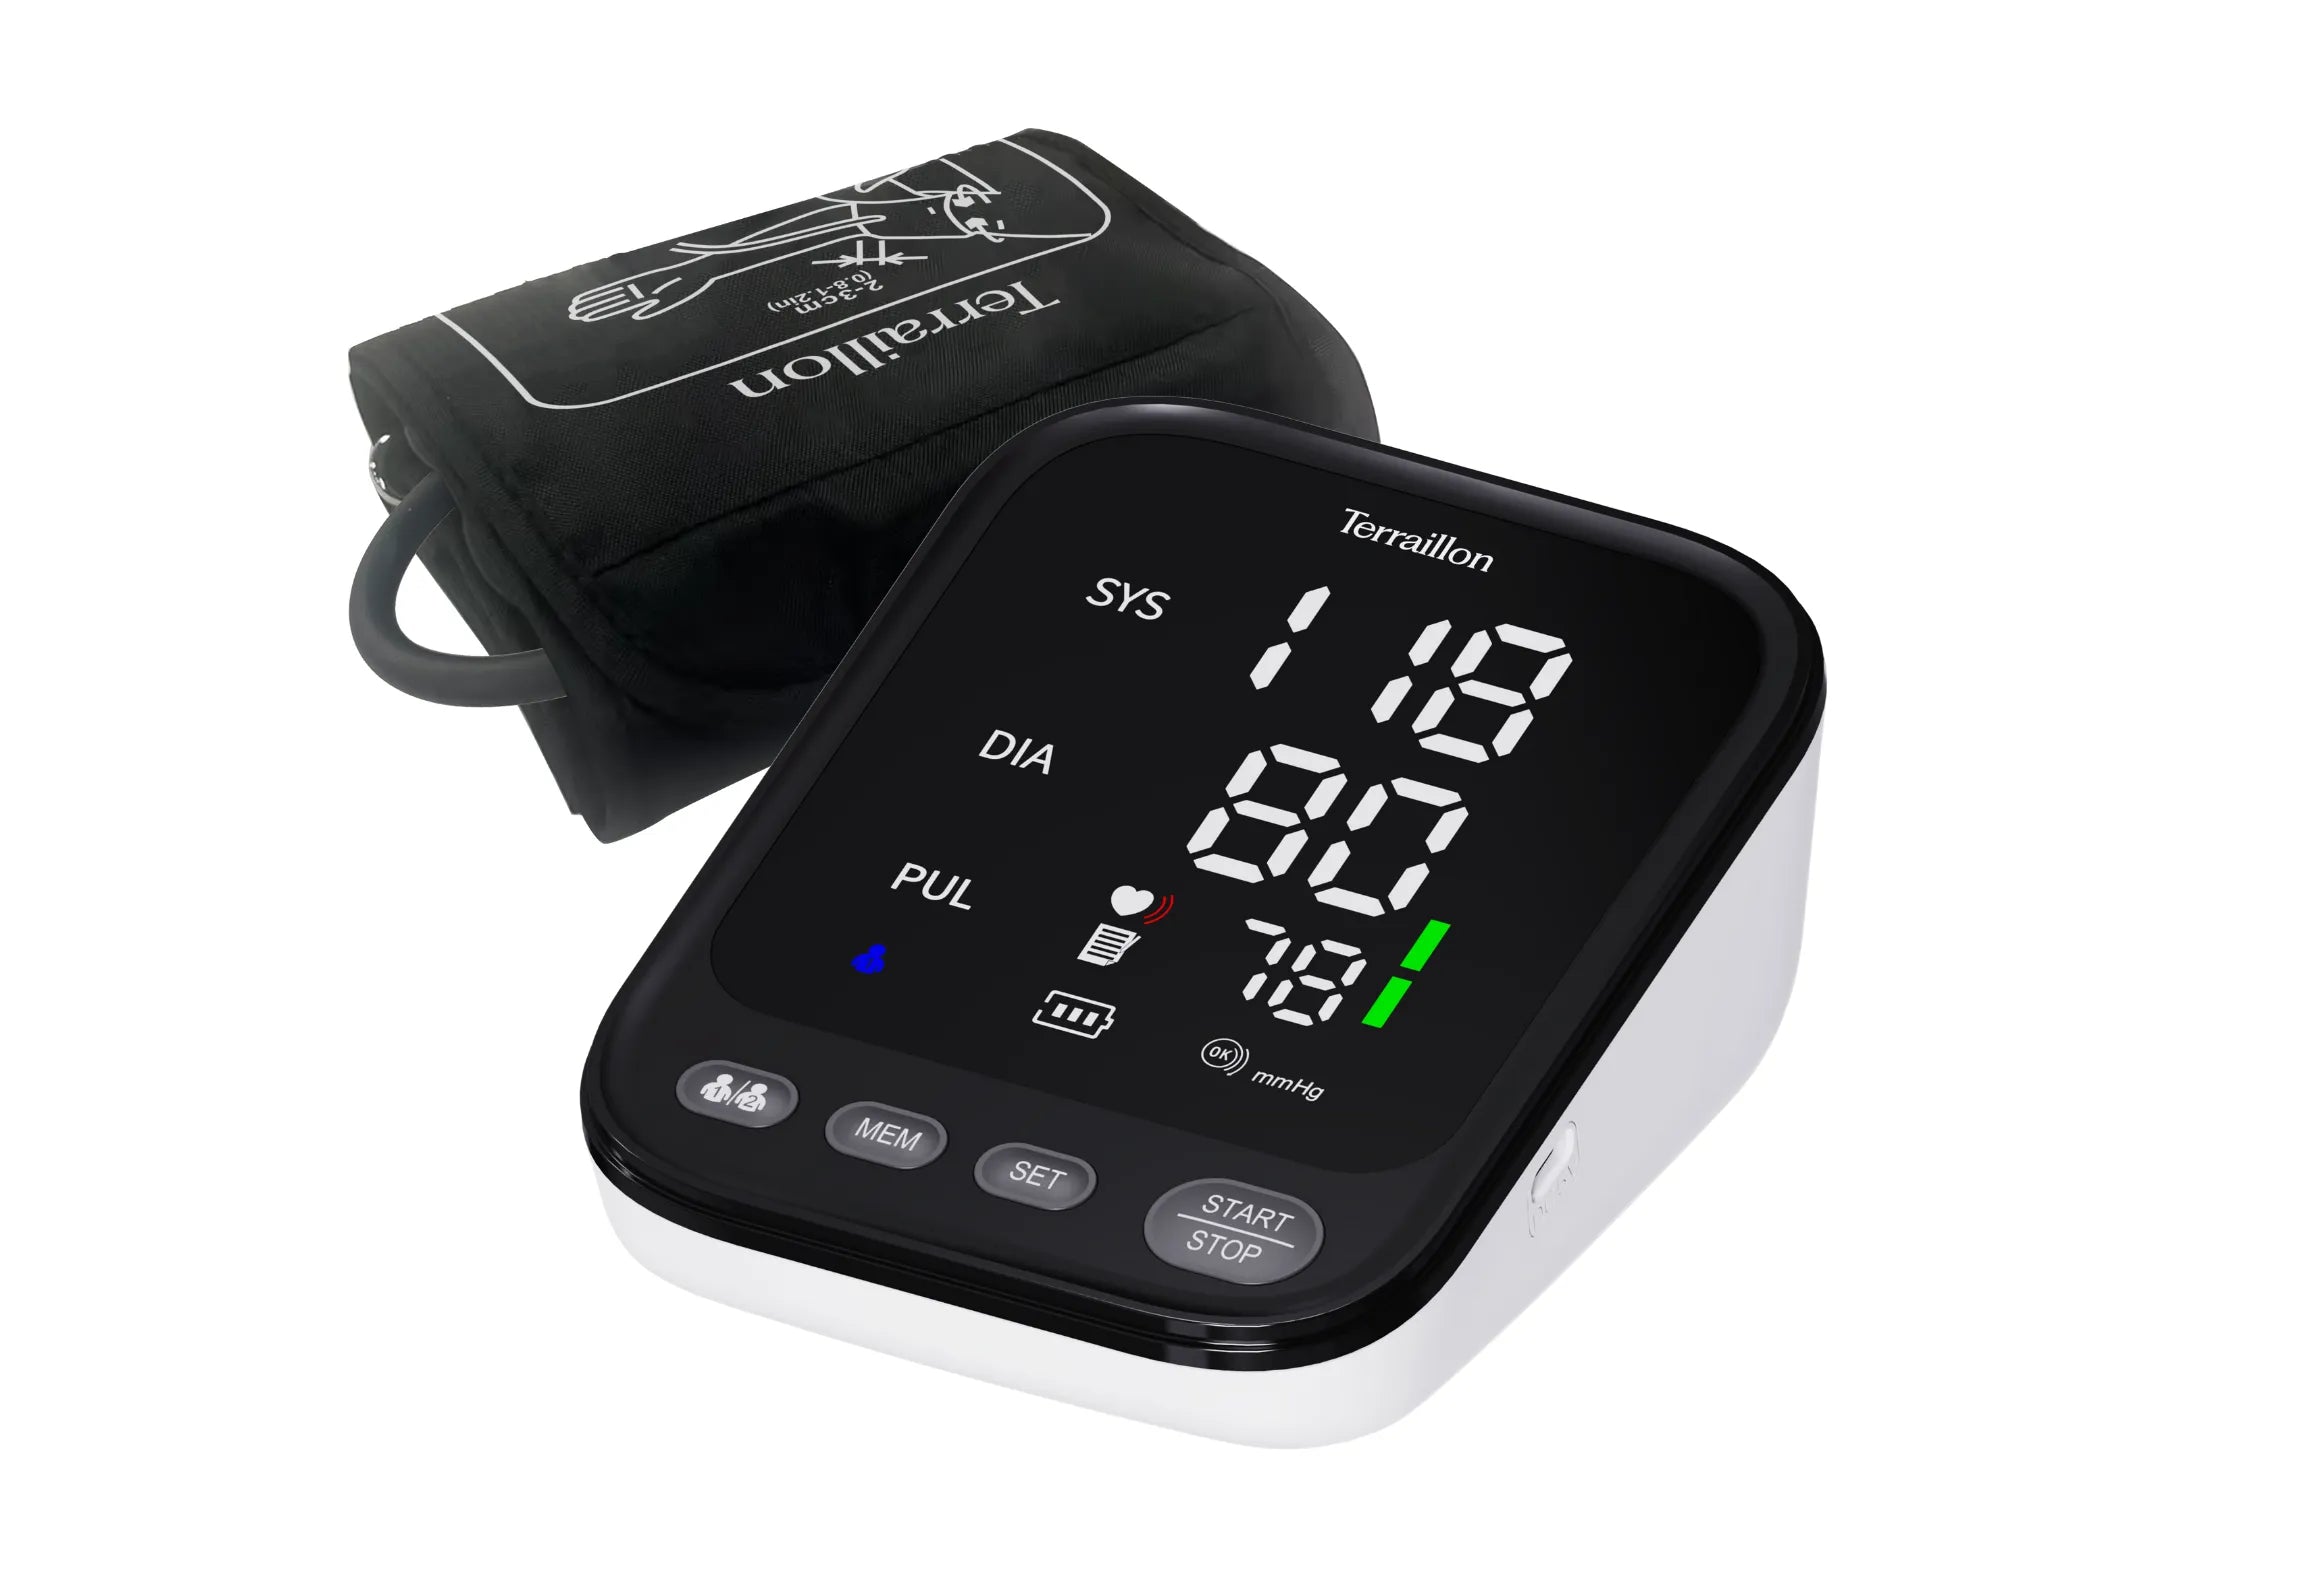
Once the measurement is complete, the systolic pressure, diastolic pressure and pulse rate are displayed on the screen.
Consult your doctor if you get unexpected results.
IV. TURN OFF THE DEVICE
Press the 'on/off' button to turn off the blood pressure monitor. Otherwise, the blood pressure monitor will automatically turn off after 20 seconds to save power.
For more information on interpretation of results and data management, or contraindications, see the instructions for use.
Reminder: This device allows you to monitor your blood pressure.
It is not intended to be a diagnostic device. Always contact your doctor for advice, diagnosis, or treatment.